Free shipping to Austria and Germany on orders over €90
Mushrooms on Pellets – A Simple Method for Shiitake & Co
Mushroom Cultivation on Wood Pellets
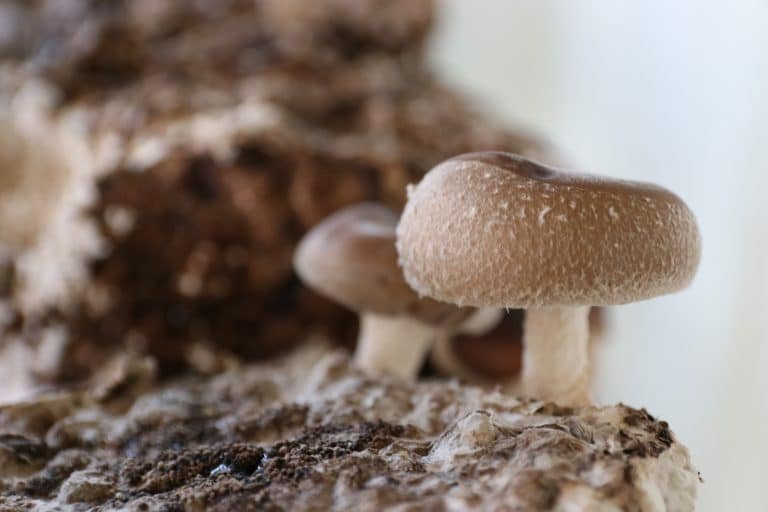
In addition to oyster mushrooms, you can also cultivate other wood-decaying mushroom species on wood substrates – for example, king oyster mushrooms, shiitake, enoki, reishi, or lion’s mane. Keep in mind that each species requires specific conditions for its different growth phases.
Materials & Tools
- Wood pellets: Hardwood pellets (e.g. smoking pellets for barbecuing)
- Fruiting containers: Plastic bags (with or without a filter)
- Protective gloves (possibly long-sleeved clothing)
- Cable ties or clips
- Mushroom spawn
- Water or mulled wine kettle
Step-by-Step Instructions
1. Boil the Water
Bring the required amount of water to a boil. Your finished substrate should have a water content of approximately 55–65%. Since pellets are usually produced with a wood moisture content of around 7%, a weight ratio of pellets to water of 1:2 (i.e. 0.5 kg of pellets per 1 litre of water) is generally right.
2. Fill the Pellets into the Bags
While the water is heating up, fill the pellets into the plastic bags. Only fill each bag about a quarter to a third full – the pellets expand as they absorb water, and you will also need space to mix the substrate and spawn inside the bag.
3. Add the Boiling Water
Always wear protective gloves and long-sleeved clothing for this step. Carefully pour the boiling water over the pellets in the bag and make sure you cover as many pellets as possible with the hot water.
4. Mix the Substrate
Most of the pellets will already have turned into sawdust after absorbing the water. Knead any remaining whole pellets from the outside into the substrate until they fully break down. Keep the bag sealed at the opening with one hand while you do this.
5. Let the Substrate Cool
Let the substrate cool down to below 38°C before you inoculate it. Fold the bag opening inward and clamp it between the table and the bag’s contents – this allows the substrate to cool while keeping airborne contamination out. Cooling typically takes about one day.
6. Prepare the Spawn & Inoculate
Break up the mushroom spawn into individual grains by shaking or kneading the closed spawn bag. Only open the substrate bags immediately before inoculation and add around 10% of the substrate weight in mushroom spawn per bag – that is approximately 200 g of spawn for 2 kg of substrate.
7. Seal the Bags
After inoculation, seal each bag just below the top edge using cable ties, string, clips, or an impulse sealer.
8. Mix Spawn & Substrate
Shake and knead the sealed bag firmly until you have evenly distributed the mushroom spawn throughout the substrate.
9. Punch the Holes
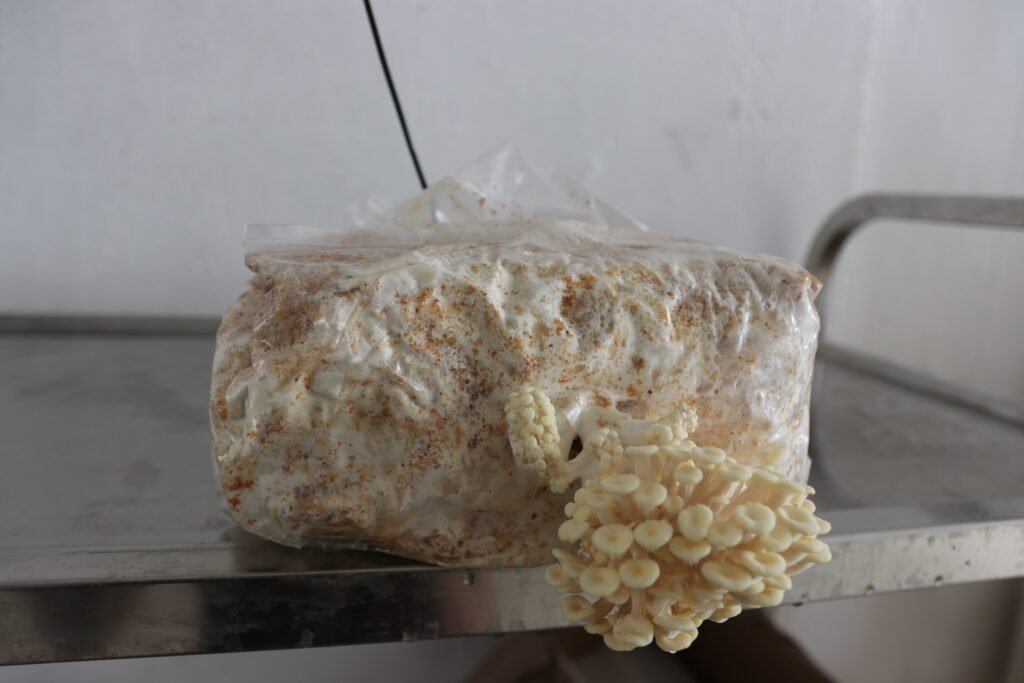
For plastic bags without filters, punch holes immediately after mixing using a nail, or cut several crosses of approximately 2 cm with a knife. For bags with filters, only open them in the same way after the substrate has fully colonised – which takes around 2–3 weeks at approximately 20°C.
10. Fruiting
Place the bags in a cool, shaded, and humid location. If you only have a drier environment available, mist the holes 1–2 times daily with water.
Want to discover more mushroom cultivation techniques? Join one of our workshops and we’ll show you everything you need to know.
Account details
Contact us
- office@stoffn.at
- Contact form
- Tel.: +43 664 750 936 04
Opening hours:
Mon – Thu: 8 AM – 5 PM, Fri: 8 AM – 1 PM
Farm Shop (Self-Service):
Daily from 7 AM – 7 PM
Edt 4, 5205 Schleedorf, Austria