Free shipping to Austria and Germany on orders over €90
Drum sterilizer building instructions
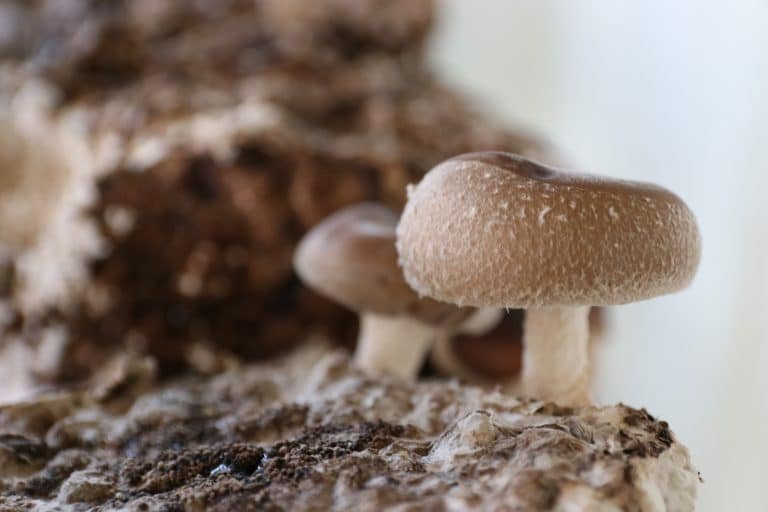
Building a steriliser from a barrel is an effective and cost-efficient method for mushroom growers to sterilise their substrate. Sterilisation is a crucial step in mushroom cultivation, as it eliminates any competing bacteria or fungi that could hinder the growth of the desired mushroom species.
In this article, we will describe step-by-step how to build a steriliser from a barrel for mushroom cultivation.
Materials Required:
– 200 l metal barrel with a removable lid (ideally made of stainless steel, steel barrels should be lined with a sack inside for rust protection)
– Grate on which the bags will rest
– Approx. 25 cm long metal or hard plastic pipes as spacers
– Propane burner, portable hotplate, or another heat source
– 1/2-inch stainless steel pipe coupling
– 1/2-inch stainless steel ball valve
– 1/2-inch stainless steel float valve
– 1/2-inch stainless steel hose connection (or depending on the size of the tap)
– Teflon tape/hemp for sealing the pipe connections
– Drill
– Metal drill bit 1/2-inch
Step 1: Clean and Prepare the Barrel
First, thoroughly clean the metal barrel.
Step 2: Drill Holes for the Connections
Using a drill and an appropriate metal drill bit, drill a hole about 20 cm above the bottom of the barrel for the 1/2-inch stainless steel coupling.
Step 3: Install the Fittings
Wrap the Teflon tape or hemp around the thread of the 1/2-inch stainless steel pipe coupling and screw it into the drilled hole. The coupling can also be welded or glued (with heat-resistant adhesive) into the barrel. On the inside, attach the float valve. On the other side of the coupling, attach the ball valve.
Step 4: Insert the Grate
The grate should be placed about 5 cm above the float valve. This will rest on approx. 25 cm long spacers. We used PVC pipes as spacers and an old bicycle rim as the grate.
Step 5: Attach the Propane Burner/Hotplate
Place the steriliser on a level and fireproof surface, or possibly on bricks or a metal stand. Position the propane burner beneath the barrel. The burner should be large enough to provide sufficient heat for sterilising the substrate. Instead of the propane burner, the barrel can also be placed on a portable hotplate (ideally with at least 2 kW power). This hotplate can be connected to a thermostat socket. The sensor of the thermostat socket can be inserted through a hole at the top of the barrel. Set this socket so that it regulates the hotplate to maintain a constant temperature of 95°C inside the barrel.
Step 6: Test the Steriliser
Fill the steriliser with water through the float valve and turn on the propane burner/hotplate. Allow the water to come to a boil and then turn off the burner/hotplate. Check for any leaks in the fittings and repair them if necessary.
Step 7: Sterilise Your Substrate
Once the steriliser is functioning properly, you can use it to sterilise your substrate. Fill the steriliser with water and place your substrate bags or jars inside. Bring the water to a boil and maintain a temperature of 95°C for 6 – 12 hours, depending on the size of your substrate bags. Ensure that the lid remains tightly closed during the sterilisation process.
Step 8: Add Insulation
To make your steriliser more energy-efficient, you can build it into a box with insulating wool or wrap it in insulation material.
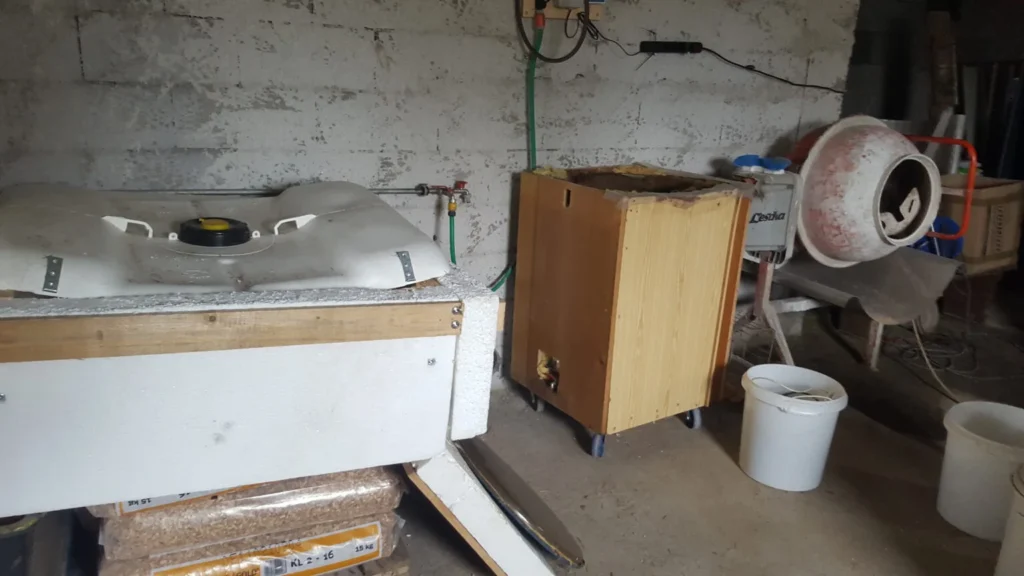
Here is an image of our long-serving steriliser:
We have placed our barrel on a hotplate controlled via a thermostat socket. The barrel is housed in a box, and the cavities are insulated with wool. To make transportation easier, we have added wheels at the bottom. The fittings for the water supply are visible on the front. With this steriliser, we can process about 90 kg of substrate per batch.
Building a steriliser from a barrel is a cost-effective and efficient method for mushroom cultivators to sterilise their substrate. With proper maintenance and care, this steriliser can last for many years.
Account details
Contact us
- office@stoffn.at
- Contact form
- Tel.: +43 664 750 936 04
Opening hours:
Mon – Thu: 8 AM – 5 PM, Fri: 8 AM – 1 PM
Farm Shop (Self-Service):
Daily from 7 AM – 7 PM
Edt 4, 5205 Schleedorf, Austria