Guide · Tubular foil 300 mm, 100 µm
Deutsch 🇦🇹
How to make grow bags from tubular foil
Cut tubular foil into bags of exactly the length you need – for straw pellets, soaked straw or mushroom columns. Robust, tear-resistant and affordable.

300 mmtube width
100 µmfoil thickness
10 / 50 mroll length
anybag length
Suitable for
Oyster mushrooms, summer oysters, lemon oysters and other straw-loving mushrooms – with substrate made from straw pellets or soaked straw.
Step by step to your grow bag
1. Cut
Cut a piece of tubular foil to the length you want. Add about 10–15 cm for closing.
2. Close the bottom
Close one end tightly with a knot, cable tie or heat sealer.
3. Fill
Fill in the cooled substrate mixed with spawn and press it down well. Pull the foil apart from the outside; don't touch the inside.
4. Close the top and cut holes
Close the bag as close to the substrate as possible. Then use a clean knife to cut several crosses of about 2 cm all round – the mushrooms will push out through these “flaps” later.
5. Colonise and fruit
Let it colonise at 20–24 °C until the substrate is white. Then hang or stand it in a cool, shady, damp spot and mist the openings daily if needed.
Tip: mushroom columns
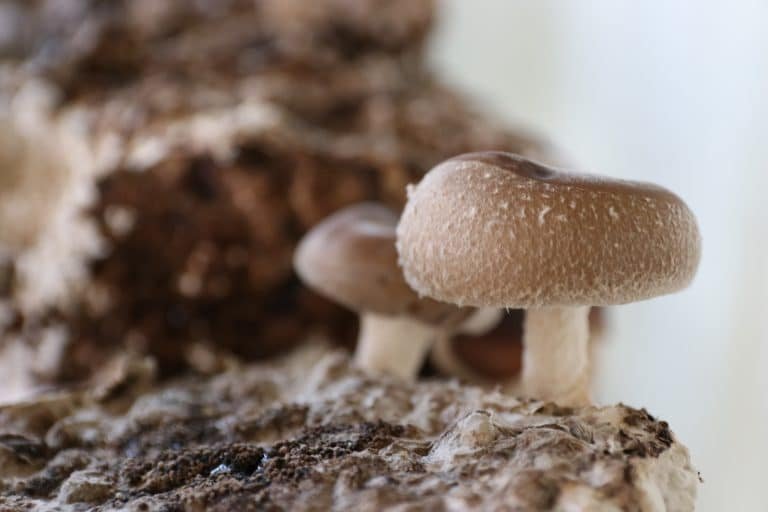
Long hanging bags look decorative and save space. The 300 mm foil makes even columns with mushrooms growing out all round.
FAQ about tubular foil
How long should a bag be?
For home use, 40–60 cm is easy to handle. Longer columns work too, but get heavy.
Do I need a filter?
Not for straw substrate – the cross cuts are enough for gas exchange. For wood substrate, use filter bags instead.
How many holes should I cut?
About 6–10 crosses for a 50 cm bag, evenly spread.
Can I reuse the foil?
For clean results we recommend fresh foil for each run.
No growth, or only weak growth?
Have a look at our FAQ or get in touch via our contact form – ideally with a photo. We are happy to help.
Want more?
Reorder directly from us, discover more mushroom species or learn how to grow mushrooms yourself in one of our courses.
Questions? FAQ · Contact · All guides